Step 1 — Install & Open Basis
Download and install Basis for your platform:
- Desktop (Windows): Download the installer from the Download page. Run
BasisSetup.exe— no server or configuration required. Basis opens directly to the dashboard. - Server / Cloud: Deploy via Docker or Azure App Service. See the Installation guide for environment setup and the first-run wizard.
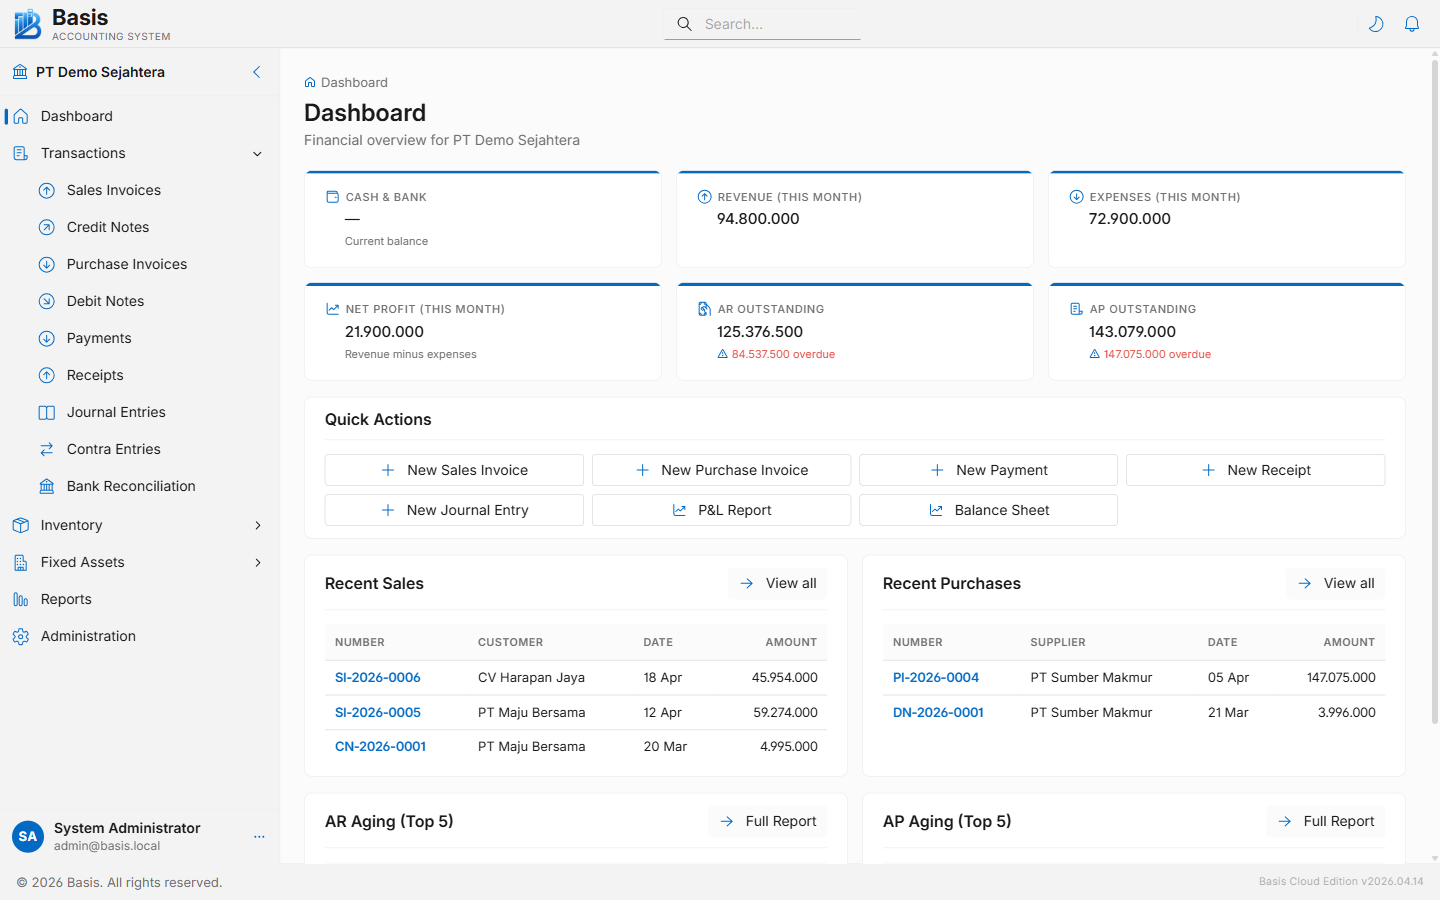
On first launch, a default business named "My Business" is created automatically (Desktop) or you create one in the Owner panel (Server/Cloud).
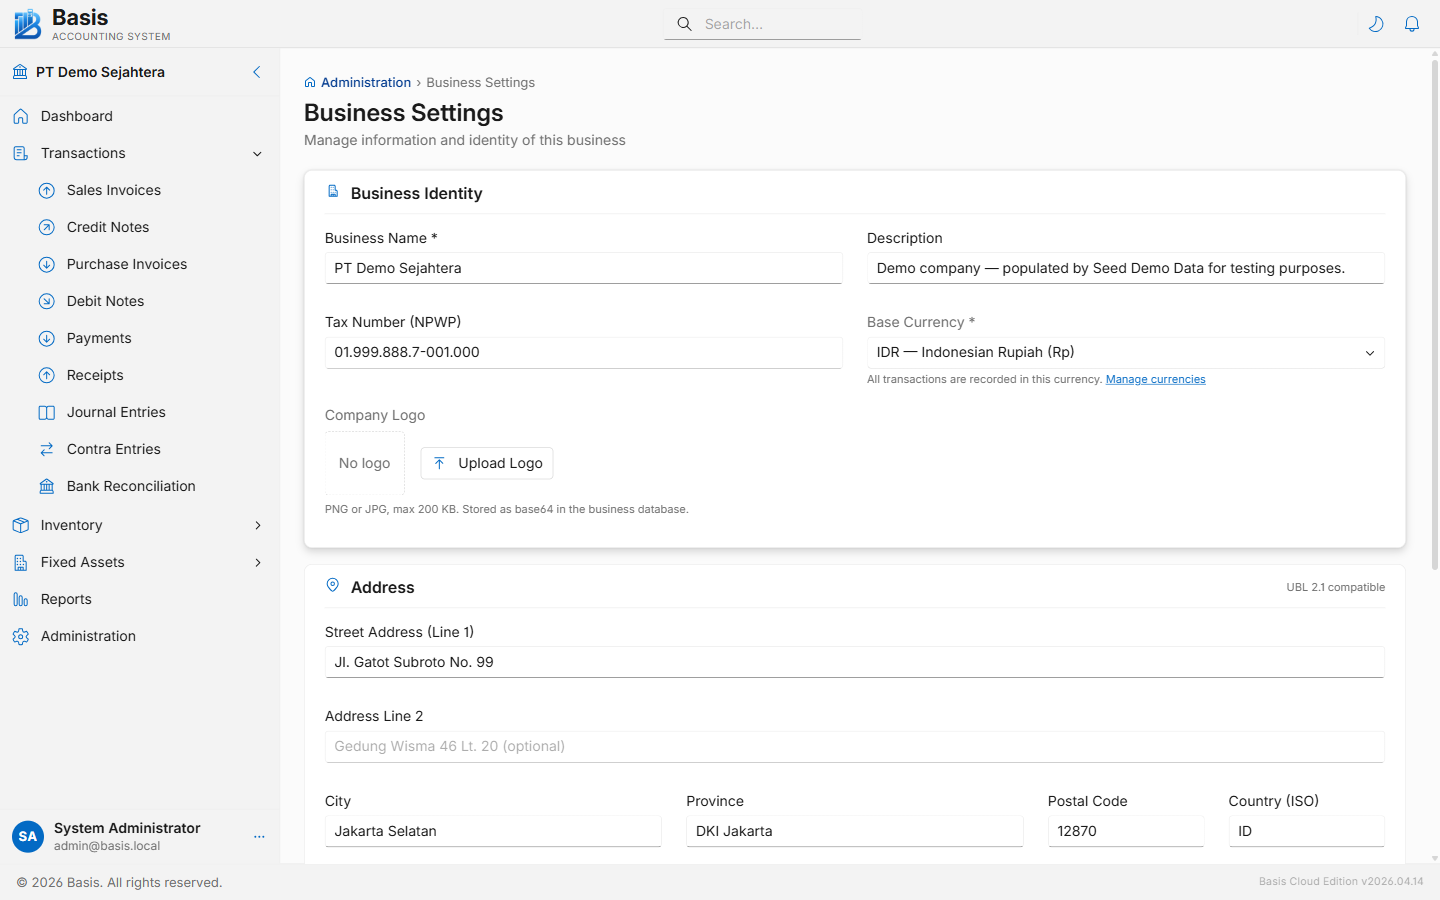
Step 2 — Fill in Business Settings
- Go to Settings → Business Settings.
- Enter your Business Name, Tax Number (NPWP), and full address.
- Upload your Company Logo (PNG/JPG, max 200 KB). It will appear on all printed invoices.
- Confirm the Base Currency (default: IDR).
- Click Save Changes.
Step 3 — Set Up Master Data
Before recording any transaction, create the reference data the forms rely on:
- Units (Master Data → Units) — add the units your items use (PCS, KG, BOX, etc.).
- Tax Categories (Master Data → Tax Categories) — add PPN 11%, Exempt, or your applicable rates.
- Chart of Accounts (Master Data → Chart of Accounts) — a standard Indonesian CoA is pre-loaded. Review and add any additional accounts your business needs.
- Items (Master Data → Items) — add the products or services you sell and purchase.
- Parties (Master Data → Parties) — add your customers and suppliers.
Step 4 — Enter Opening Balances (if migrating)
If you are migrating from another system and have existing balances, enter them in Settings → Opening Balances before creating any regular transactions.
- GL Accounts tab: Enter debit/credit balances from your previous trial balance.
- AR/AP Bills tab: Enter each outstanding invoice not yet paid.
- Inventory Stock tab: Enter opening quantities and unit costs per item.
If you are starting fresh (no prior history), skip this step.
Step 5 — Configure Optional Features
Go to Settings → Feature Settings and enable any optional modules you need:
- Sales Orders / Purchase Orders: enables the SO → GDN → SI and PO → GRN → PI workflow chains.
- Multi Location: enables per-warehouse stock tracking.
- Salesman: enables salesman assignment and commission reports.
- Multi Currency: enables foreign currency transactions.
- Projects: enables project-level P&L tracking.
Each feature adds new navigation items and form fields. You can change features at any time — disabling a feature hides its UI but does not delete any data.
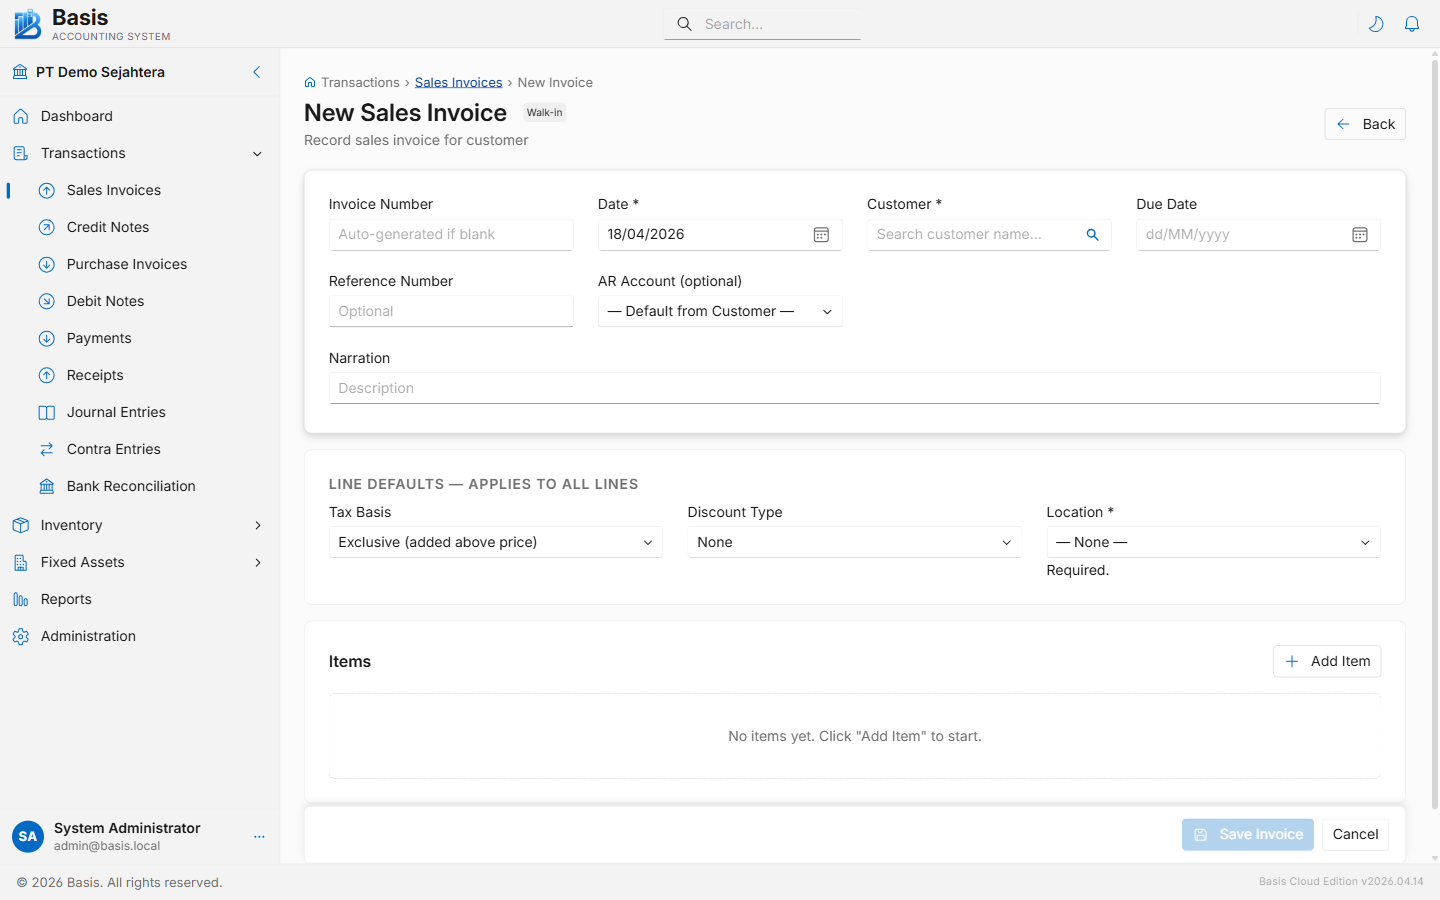
Step 6 — Record Your First Transaction
You are ready to record transactions. The most common starting point:
- Issue an invoice: Go to Transactions → Sales Invoices → New. Select a customer, add lines, and click Save. The invoice posts to the GL immediately.
- Record a payment received: Go to Transactions → Receipts → New. Select the bank/cash account, link the customer's outstanding invoice, and save.
- Record a purchase bill: Go to Transactions → Purchase Invoices → New. Select a supplier, add lines, and save.
Setup Checklist
| Task | Where | Notes |
|---|---|---|
| Business name, logo, address | Settings → Business Settings | Required — printed on all documents |
| Units of measure | Master Data → Units | Required before creating items |
| Tax categories | Master Data → Tax Categories | Required before creating items |
| Chart of accounts | Master Data → Chart of Accounts | Pre-loaded with Indonesian standard CoA |
| Items (products/services) | Master Data → Items | Required before recording sales/purchase |
| Parties (customers/suppliers) | Master Data → Parties | Required before recording transactions |
| Opening balances | Settings → Opening Balances | Only if migrating from another system |
| Feature toggles | Settings → Feature Settings | Enable only what your business needs |
| Voucher number format | Settings → Voucher Numbers | Optional — change prefix/padding from defaults |
Next Steps
- Sales Invoices — issue invoices to customers
- Purchase Invoices — record supplier bills
- Reports — view your P&L, Balance Sheet, and AR/AP aging
- Installation — detailed setup for Server/Cloud deployment
- Migration — migrate data from another accounting system