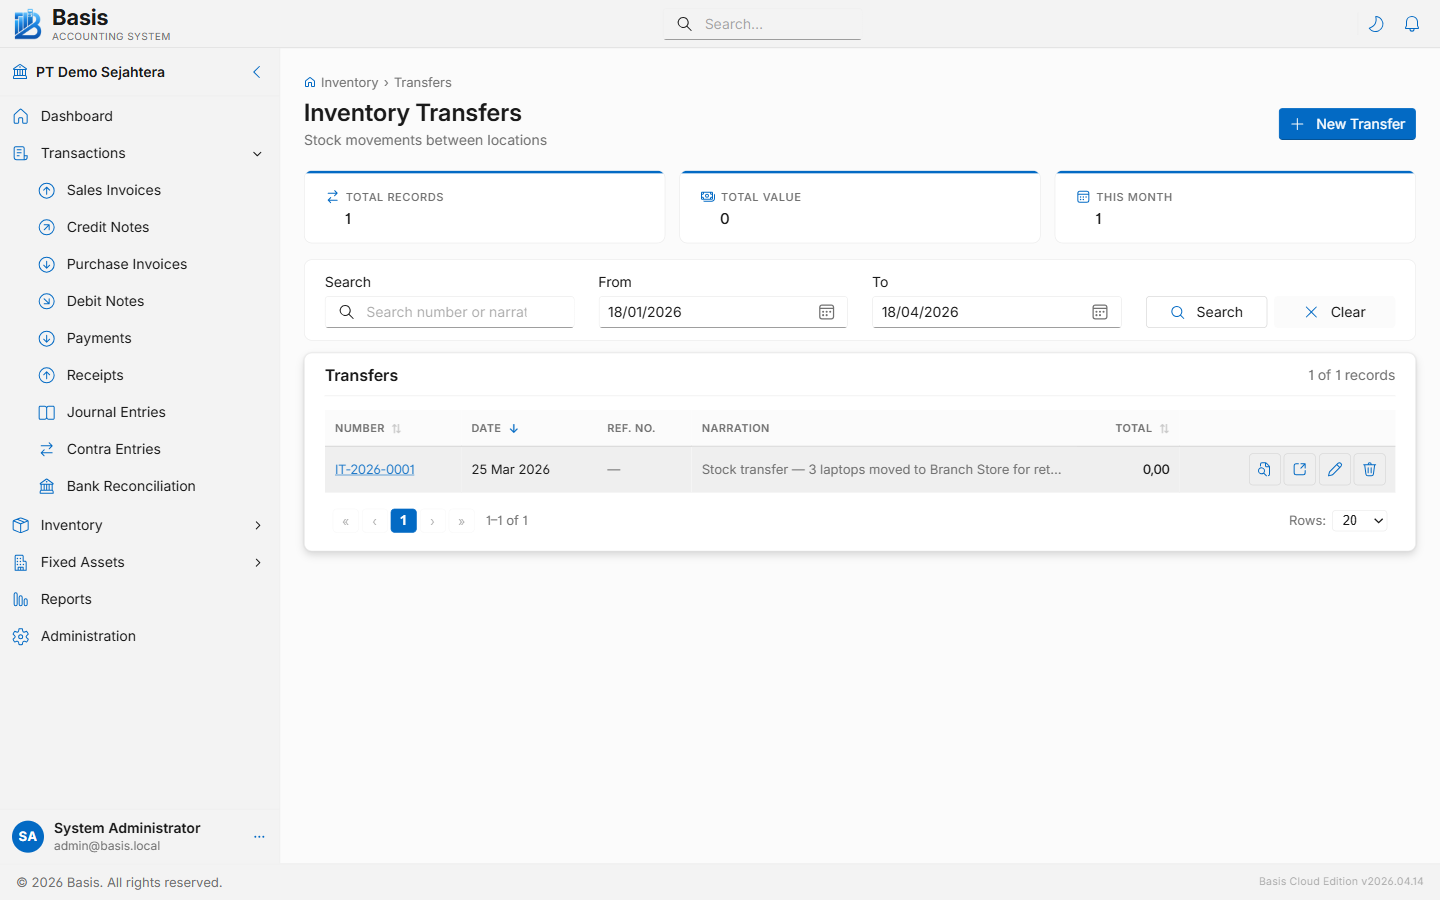
Creating an Inventory Transfer
Go to Inventory → Transfers, then click New. This feature requires Multi-Location to be enabled.
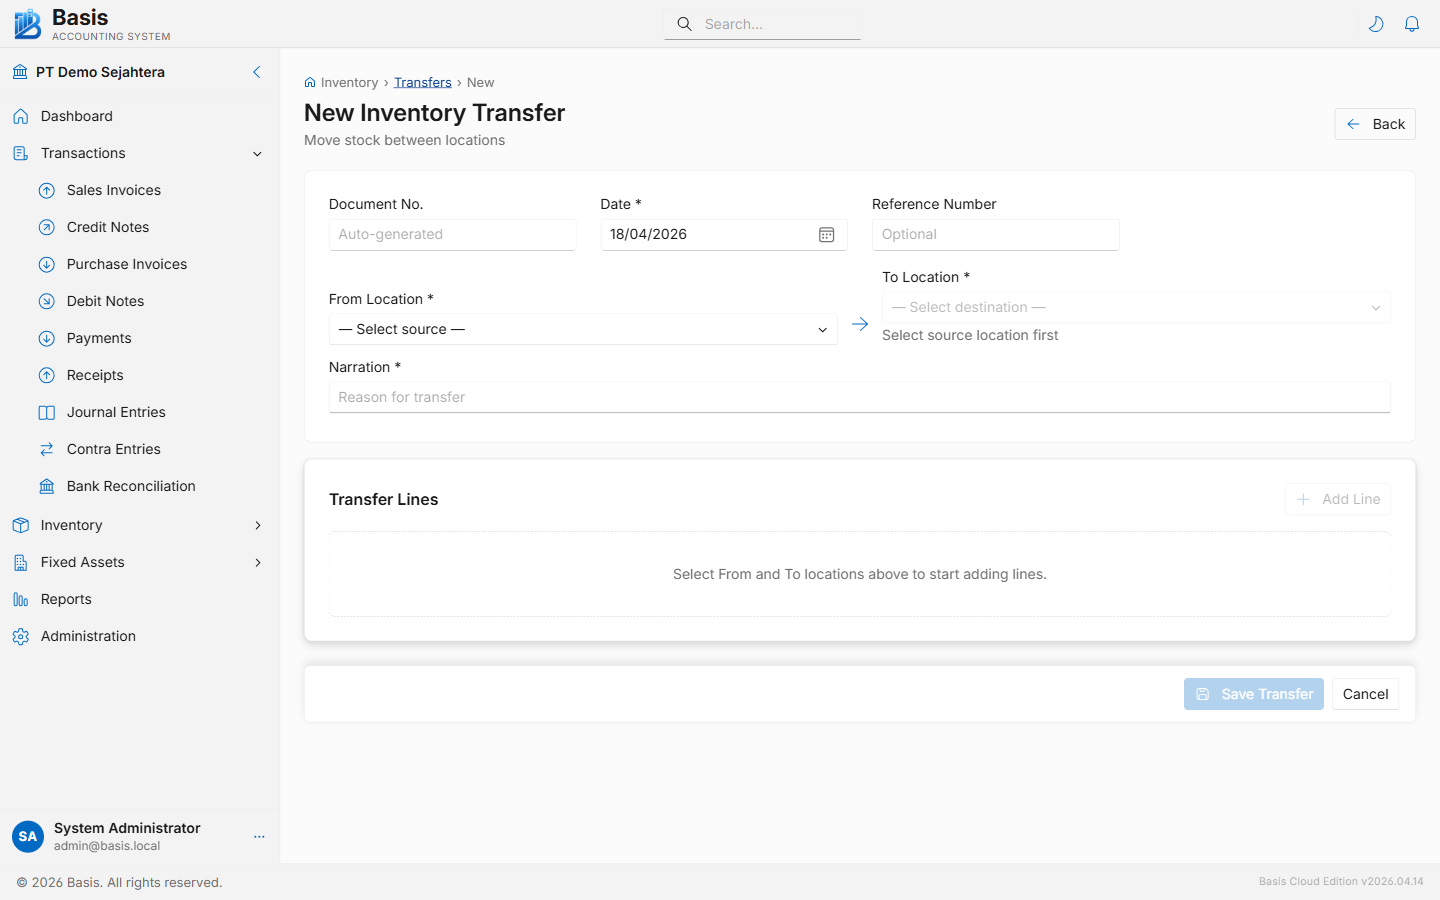
- Set the Date of the transfer.
- Select the From Location (the warehouse stock is leaving).
- Select the To Location (the warehouse stock is going to). Cannot be the same as From.
- Enter a Reference Number and Narration for the transfer.
- Add lines by clicking Add Line (opens a dialog): select the Item and enter the Qty to transfer.
- Review the line table and click Save.
Header fields
| Field | Status | Notes |
|---|---|---|
| Document Number | Auto | Auto-generated from the IT voucher series. |
| Date | Required | Date the physical transfer takes place. |
| From Location | Required | Originating warehouse — stock decreases here. |
| To Location | Required | Destination warehouse — stock increases here. Cannot equal From Location. |
| Reference Number | Optional | Internal transfer order number or truck reference. |
| Narration | Optional | Reason for the transfer. |
Line fields (via dialog)
| Field | Status | Notes |
|---|---|---|
| Item | Required | Search by item code or name. |
| Qty | Required | Quantity to transfer. Must be greater than 0 and ≤ available stock at From Location. |
| Unit | Read-only | Item's base unit of measure. |
| Narration | Optional | Per-line note. |
Inventory Transfers have no GL (financial) impact. The stock moves between location bins but the total Inventory Asset balance on the GL does not change. Requires Multi-Location feature to be enabled in Business Settings.
Related
- Inventory Adjustments — to change the total quantity (not just move it)
- Locations — set up warehouse locations
- Stock Balance by Location Report — verify stock at each location after transfer